

Did you know that over 10,000 gallons of water can be wasted each year by a single leaky faucet? Plumbing problems at home can quickly lead to higher bills and costly repairs. With basic skills and the right tools, almost anyone can tackle common leaks and clogs right away. This easy guide breaks down practical steps for saving water, saving money, and keeping household repairs simple and stress free.
Table of Contents
- Step 1: Gather Essential Plumbing Tools and Materials
- Step 2: Shut Off Water and Prepare Work Area
- Step 3: Fix Common Leaks and Drips Around the Home
- Step 4: Clear Clogs in Drains and Toilets Safely
- Step 5: Test Repairs and Check for Ongoing Issues
Quick Summary
| Key Point | Explanation |
|---|---|
| 1. Assemble Essential Plumbing Tools | Gather screwdrivers, wrenches, plungers, and specialized items like plumber’s tape to handle common plumbing tasks effectively. |
| 2. Shut Off Water Before Repairs | Locate the main shut-off valve to stop water flow and prevent damage during plumbing repairs. |
| 3. Address Leaks Promptly | Inspect for leaks in faucets and pipes, replace worn components, and know when to call a professional for complex issues. |
| 4. Use Appropriate Techniques to Clear Clogs | Utilize plungers and drain snakes for clog removal, and avoid chemical drain cleaners to protect your plumbing. |
| 5. Test Repairs Thoroughly | After repairs, restore water supply and monitor for leaks or issues to ensure effective fixes and prevent future problems. |
Step 1: Gather Essential Plumbing Tools and Materials
Before diving into home plumbing repairs, you need a well-stocked toolkit that will help you tackle common issues quickly and safely. According to Eric, your essential plumbing toolkit should include several key tools that will prepare you for most basic home maintenance tasks.
Your foundational plumbing toolkit should include screwdrivers, pipe wrenches, adjustable wrenches, pipe cutters, plungers, and locking pliers. From Career Training, we know reputable manufacturers like Stanley and Klein Tools produce high-quality professional-grade tools that can withstand repeated use. Pro tip: Invest in sturdy tools made from durable materials rather than cheap alternatives that might break during a repair.
Beyond basic hand tools, consider adding specialized items like a plumber’s tape (also known as Teflon tape), a hacksaw for cutting pipes, and a drain snake for clearing minor clogs. These additional tools will expand your repair capabilities and help you address a wider range of household plumbing challenges. Plumbing Maintenance Tips for 2025 can provide additional insights into maintaining your home’s plumbing system effectively.
Step 2: Shut Off Water and Prepare Work Area
Before starting any plumbing repair, you must safely stop water flow and create a clean workspace. According to OAS, locating the main shut-off valve is critical for controlling water during emergencies and preventing potential water damage.
Start by finding your home’s main water shut-off valve typically located near the water meter or where the main water line enters your home. OAS also notes that most plumbing fixtures have individual shut-off valves located directly underneath them, which allow you to isolate specific areas without cutting water to your entire home. Turn these valves clockwise to stop water flow to the specific fixture you will be repairing.
Prepare your work area by clearing space around the repair site, laying down old towels or a drop cloth to catch potential water drips, and ensuring good lighting. Keep a bucket nearby to collect any water that might escape during your repair.
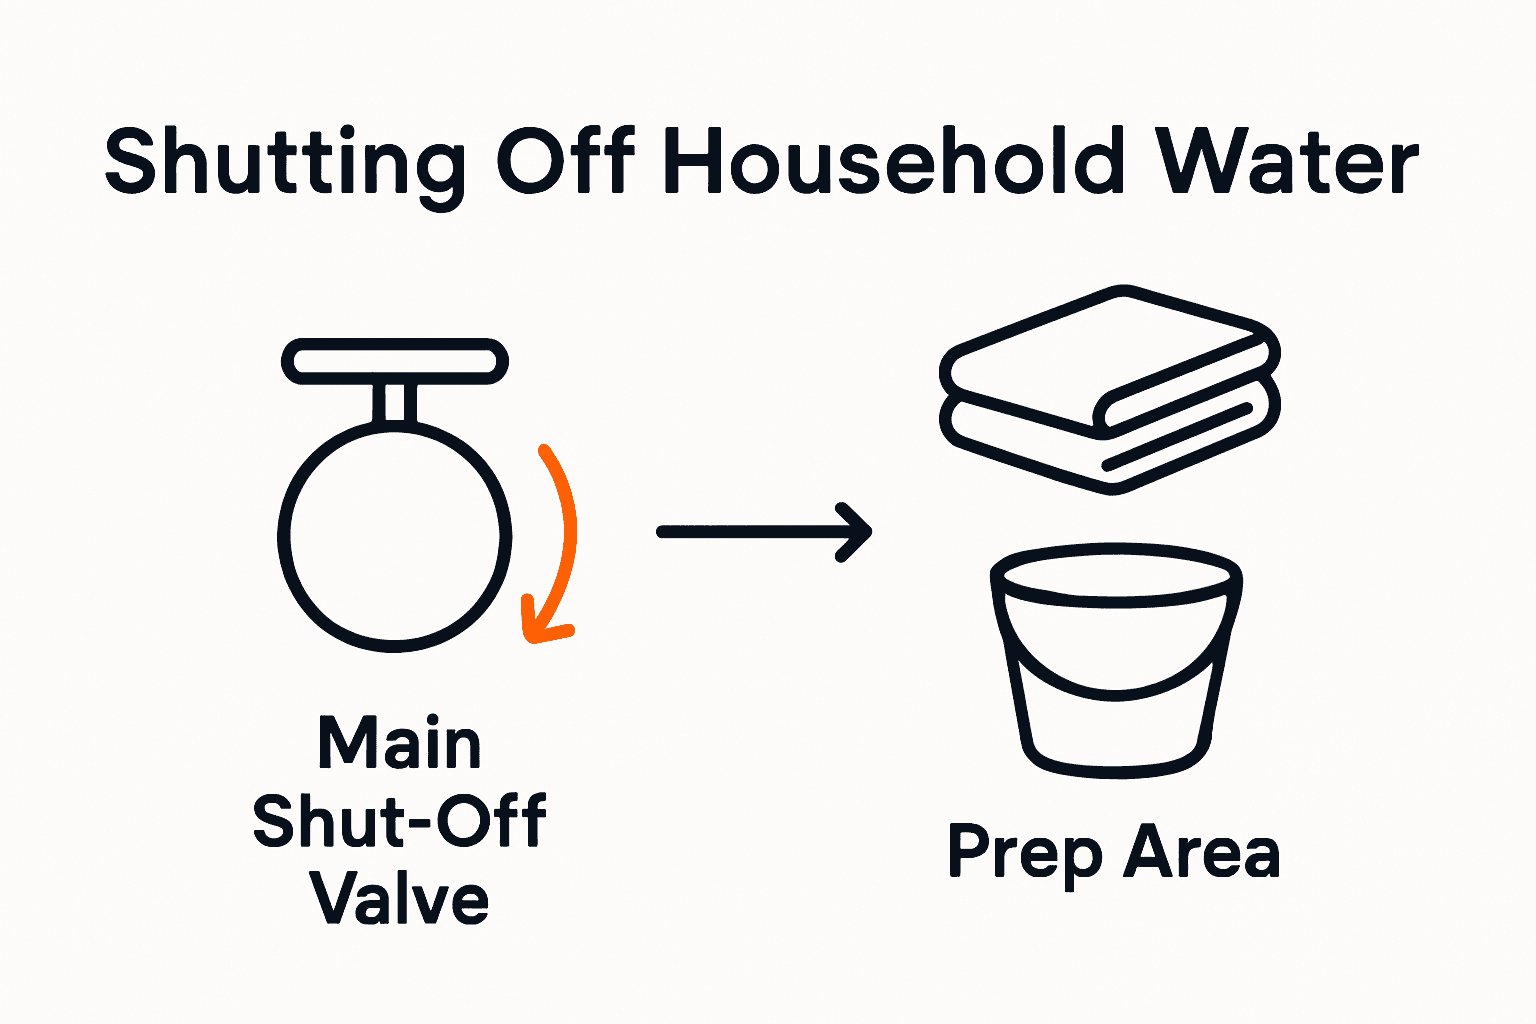 Have paper towels and rags ready for quick cleanups. By taking these preparatory steps, you will create a safe and efficient workspace that minimizes potential mess and helps you focus on resolving the plumbing issue.
Step 3: Fix Common Leaks and Drips Around the Home
Leaks can cause significant damage if left unaddressed, making prompt repair crucial for maintaining your home’s integrity. According to OAS, addressing leaks quickly helps prevent water damage and potential costly repairs down the line.
Start by identifying the source of the leak. Check common problem areas like faucet connections, pipe joints, and toilet base. For sink faucets, most drips result from worn washers or damaged cartridges. Turn off the water supply, disassemble the faucet handle, and replace the faulty component.
IMAGE:descriptive_key_1] When dealing with pipe leaks, tighten connections using an adjustable wrench or apply plumber’s tape to create a watertight seal. [OAS recommends regular inspection and maintenance of plumbing fixtures to catch potential issues early and minimize potential damage.
Be cautious and know your limits. While many small leaks are manageable DIY projects, persistent or complex leaks might indicate more serious plumbing problems. If you encounter a leak that seems beyond your skill level or if water damage appears extensive, it’s time to consult a professional plumber in Santa Rosa who can provide expert assessment and repair.
Step 4: Clear Clogs in Drains and Toilets Safely
Clogged drains and toilets can quickly turn from a minor inconvenience to a major household headache. According to OAS, using appropriate tools like plungers and drain snakes can effectively clear most household clogs without causing damage to your pipes.
Start with a plunger for toilet and sink clogs. Create a tight seal around the drain opening and use firm, consistent plunging motions. For sink drains, try a combination of baking soda and vinegar to break up minor blockages.
VIDEO:video_content] When using a drain snake, insert it carefully into the drain and rotate the handle to navigate through the pipe, pulling out hair, debris, and other blockage materials. [OAS emphasizes that regular maintenance and proper fixture use can prevent many clogs from forming in the first place.
Warning: Avoid using chemical drain cleaners whenever possible, as they can damage your pipes and create more expensive problems. If your initial attempts fail to clear the clog, it might be time to consult a professional plumber who can address more stubborn blockages without risking damage to your plumbing system.
Step 5: Test Repairs and Check for Ongoing Issues
After completing your plumbing repair, thorough testing is crucial to ensure your work resolves the original problem. According to OAS, restoring the water supply and carefully monitoring the repaired area is essential to confirm that no leaks or additional issues persist.
Slowly turn the water supply back on and observe the repaired section closely. Look for any signs of water seepage, dripping, or unusual water flow. Run water through the fixture and check all connections, paying special attention to joints and seals. Check under sinks and around toilets for any moisture or unexpected water accumulation. OAS recommends regularly inspecting repaired areas over time to confirm the effectiveness of your fix and address any recurring problems promptly.
If you notice any continued issues or feel uncertain about the repair, it might be wise to consult a professional plumber in Santa Rosa who can provide a comprehensive assessment and ensure your plumbing system remains in top condition.
Take Control of Your Home Plumbing with Expert Support
Feeling overwhelmed by leaks and clogs despite your best DIY efforts? Many homeowners face the frustration of unexpected drips, stubborn blockages, and the worry that a simple fix might not be enough. This guide highlights important steps like using plumber’s tape for tight seals, locating shut-off valves to prevent damage, and safely testing your repairs.
Discover peace of mind by partnering with a trusted local team that understands these challenges first-hand. At North End Plumbing, Heating & Air, we combine expert knowledge with friendly service to help you tackle plumbing repairs confidently or handle tougher issues professionally. Explore our Info & Education resources to deepen your understanding and know when to call for expert help. Don’t wait until leaks turn into costly repairs — visit North End Plumbing, Heating & Air today and keep your home running smoothly and safely.
Frequently Asked Questions
What essential tools do I need for basic home plumbing repairs?
To tackle basic home plumbing repairs, gather tools such as screwdrivers, pipe wrenches, adjustable wrenches, and plungers. Start by assembling a toolkit that includes these items to ensure you’re prepared for common issues.
How do I safely shut off the water supply before making repairs?
Locate your home’s main shut-off valve, usually near the water meter or where the main line enters. Turn the valve clockwise to stop the water flow before beginning any repairs, ensuring a dry workspace.
How can I fix a leaky faucet securely?
To fix a leaky faucet, identify the source of the leak, typically worn washers or damaged cartridges. Disassemble the faucet, replace the faulty component, and reassemble to stop the leak effectively.
What is the best way to clear a clogged toilet?
Use a plunger to clear a clogged toilet by creating a tight seal around the drain and using firm, consistent plunging motions. If the clog persists, consider using a drain snake to remove additional debris or blockage.
How can I test my plumbing repair to ensure it’s effective?
After completing your plumbing repair, gradually turn the water supply back on and closely monitor the repaired area for leaks. Check all connections and seals to confirm there are no ongoing issues, and inspect regularly over the following days to ensure the fix holds.
When should I consult a professional plumber?
If you encounter a persistent or complex leak that seems beyond your skill level, or if repairs do not resolve the issue, it’s time to consult a professional plumber. This ensures that more serious plumbing problems are addressed without further damage.
Recommended
- 7 Essential Plumbing Maintenance Tips 2025 for Homeowners – North End Plumbing, Heating and Air
- Info – North End Plumbing, Heating and Air
- Top 7 Signs You Need a Plumber in Santa Rosa—Before It’s Too Late – North End Plumbing, Heating and Air